Build and Maintain a Simple Indoor Compost Caddy: A Step-by-Step Method
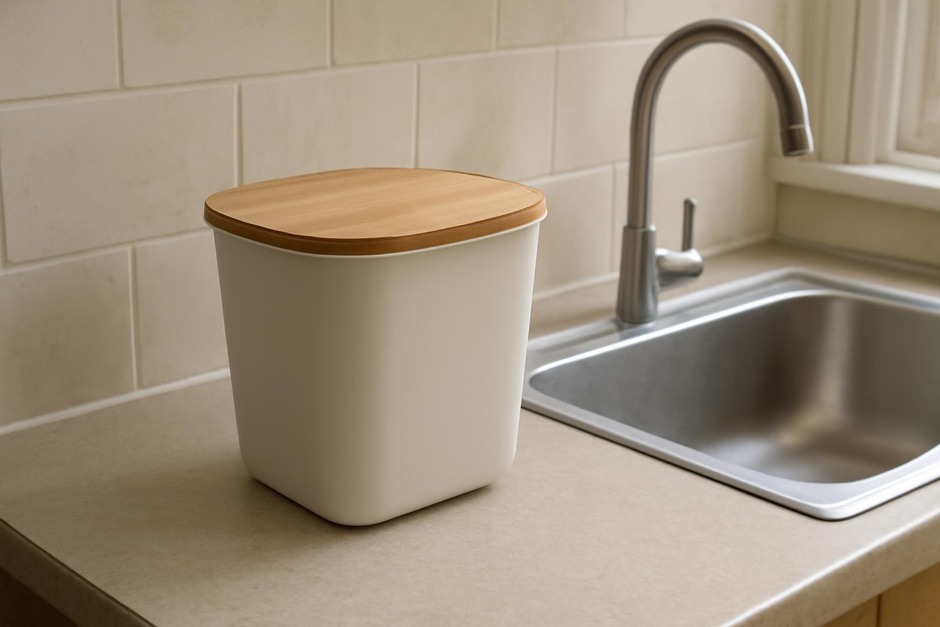
Keeping food scraps out of landfill can feel daunting if you live in an apartment or simply want a tidier kitchen routine. A small indoor compost caddy is an accessible way to collect organic waste for municipal pickup, a balcony bin, or a backyard pile. This article gives a clear, repeatable method, explains why each step matters with short examples, and offers variations plus troubleshooting for common problems.
Step-by-step method
- Choose the right container. Pick a 1–3 liter (quart) lidded caddy made of stainless steel, ceramic, or hard plastic. Example: a 2 liter stainless container sits comfortably on most counters without crowding a sink.
- Line the base (optional). Put a 2–3 cm (1-inch) layer of dry, carbon-rich material: shredded newspaper, torn brown paper bags, or finely shredded cardboard. This creates airflow and absorbs moisture.
- Collect appropriate scraps. Add vegetable and fruit peels, coffee grounds and filters, tea bags (without staples), egg shells, and small amounts of cooked grains. Avoid large bones, meat, dairy, oily leftovers, and diseased plants. Tip: Keep a small bowl of citrus peels separately if you plan to use them sparingly; they can slow breakdown if too abundant.
- Layer wet with dry. After each addition, cover the new scraps with a small handful of the dry material from step 2, or a sprinkle of dry sawdust. This helps balance moisture and odors. Example: after chopping a couple of carrots and an apple core, add a teaspoon of dry shredded paper and a dusting of garden soil if you have it.
- Seal and store properly. Close the lid tightly between uses and keep the caddy in a cool place or under the sink. If your kitchen is warm, refrigerate the caddy or place it on a shaded balcony to slow decomposition and reduce smell.
- Empty regularly. Transfer contents every 3–7 days to your outdoor compost bin, municipal organic collection, or a larger worm or bokashi system. The frequency depends on temperature and the amount of scraps you produce.
- Clean occasionally. Rinse with warm water and a mild vinegar solution every few emptyings to prevent residue build-up and flies. Thoroughly air-dry before returning to service.
Principles behind the method (with small examples)
Two simple principles make this routine effective:
- Balance carbon and nitrogen. Kitchen scraps are mostly nitrogen-rich (greens) while paper, cardboard, and dry leaves supply carbon. Aim for a balance in the caddy by pairing a banana peel (nitrogen) with a handful of shredded paper (carbon). The small, repeated pairing prevents the mass from becoming too wet or smelly.
- Control moisture and airflow. Too wet causes odors and flies; too dry slows decomposition. A single apple core plus a dusting of dry paper keeps moisture in check. The lid keeps pests out but remember to aerate the outdoor compost when you transfer the caddy’s contents.
Variations
- Bokashi pre-composting: Use the caddy as the collection point, then transfer layered scraps into a bokashi bucket for anaerobic fermentation before burying or adding to soil. This is helpful if you want to include small amounts of dairy or cooked food.
- Countertop worm starter: If you plan to graduate to vermicomposting, use the caddy to collect only fruit and vegetable scraps and empty them daily into a worm bin to avoid attracting pests.
- No-liner approach: Skip liners and rely on the dry layer method. This reduces waste but requires more frequent cleaning. Use a stainless caddy if you choose this option because it’s easiest to sanitize.
- Seasonal citrus protocol: In winter months when breakdown is slower, limit citrus to one piece per week in the caddy, covered with extra dry material to neutralize acidity.
Troubleshooting
- Problem: Strong, sour smell. Likely too much moisture or anaerobic conditions. Remedy: Empty into your outdoor compost, add more dry carbon, rinse the caddy, and keep future scraps covered with dry paper. Refrigerate the caddy between uses if smells persist.
- Problem: Fruit flies. Solution: Freeze or refrigerate peels for a day before adding, ensure the lid seals tightly, and always cover fresh scraps with dry material. You can also place a small slice of citrus or vinegar trap away from the caddy to divert flies.
- Problem: Slow breakdown once transferred outdoors. Fix: Chop scraps smaller, mix them into the pile rather than leaving them on the surface, and add a handful of garden soil to reintroduce microbes.
- Problem: Mold in the caddy. Mold is common and not harmful if outdoor composting follows. To minimize, reduce moisture, add more dry carbon, and clean the container more often.
This simple caddy routine connects kitchen habits to core composting principles. Start small, observe what happens with one or two days of scraps, and adjust layering, storage location, and emptying frequency until the system fits your rhythm. The result is a tidier counter and a steady stream of organic material that can nourish soil beyond the kitchen.